
以下は、UnityのBuilit-Inプロジェクトでポストプロセスを設定する方法です。
URP/HDRPとは方法が異なりますのでご留意ください。
ポストプロセスってなに?という方は以下の関連記事を参照ください。(URPを前提とした記事になります)

ここからは、Builit-Inのポストプロセスの設定方法です。
パッケージマネージャーウィンドウから、パッケージが、Unityレジストリとなっている状態で、「PostProcess」と検索してください。出てきたらインストールボタンを押してください。

プロジェクトウィンドウの適当なフォルダで右クリックを押し、
[作成] > [Post-processing Profile]を選択。
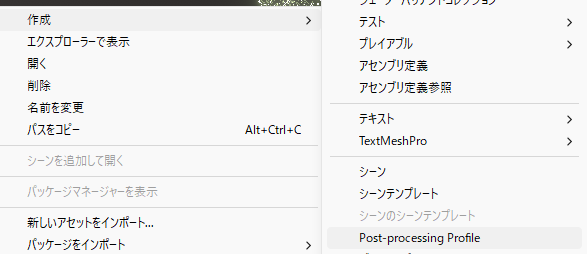
すると、こんなファイルが出来上がると思います。

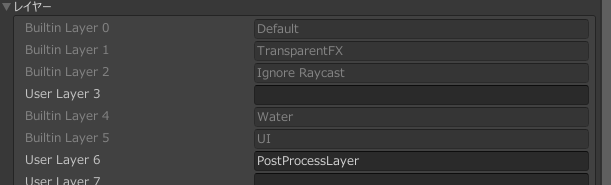
ゲームオブジェクトを選択した際に、右上にいるレイヤーをクリックし、レイヤーを追加を選択。
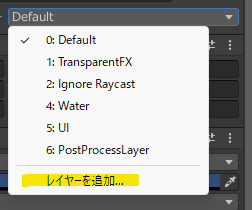
新規のレイヤーを追加します。名前版でもよいのですが、私は「PostProcessLayer」にしました。
MainCameraのコンポーネントに、Post-process Layerを追加します。
名前が似ていますが、Post-process Volumeではないのでお気をつけて。
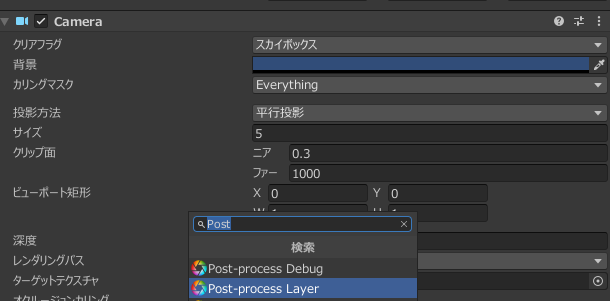
このようにコンポーネントが追加されます。
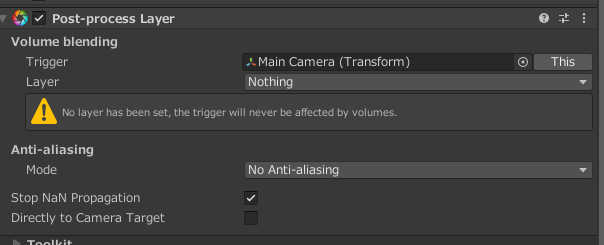
次にLayerに警告マークが出ているので、Layerに先ほど作成した「PostProcessLayer」を割り当てます。

すると、警告が消えました。
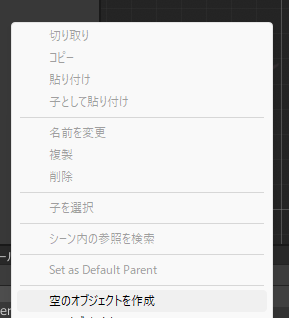
次に、シーン内に空のGameObjectを作成します。
ヒエラルキーウィンドウで右クリックし、空のオブジェクトを作成を押しておきます。
★重要★
レイヤーにはStep3で作成した、PostProcess Layerをセットします。

次に、コンポーネントに、PostProcess Volumeを追加します。
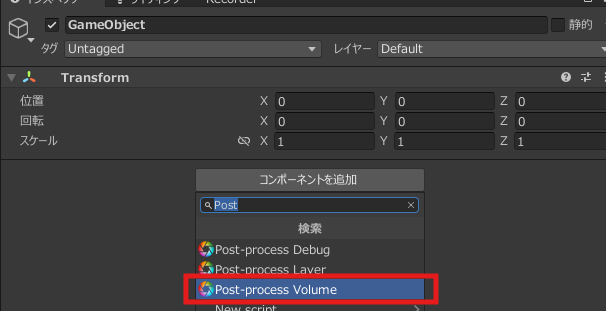
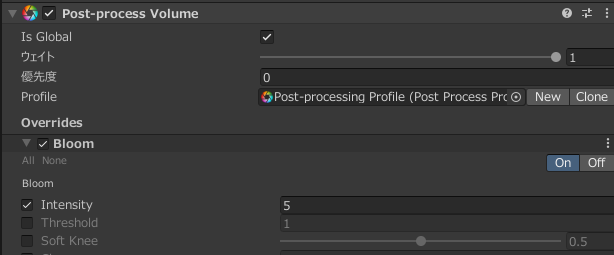
IsGlobalにはチェックを付けておきます。
Profileには、先ほど作成した「PostProcess Volume」をセットします。

Step5で作成したPostProcessVolumeの下にいる、「Add effect...」ボタンを押します。
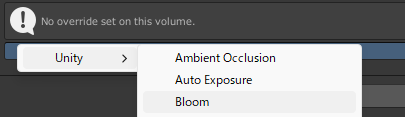
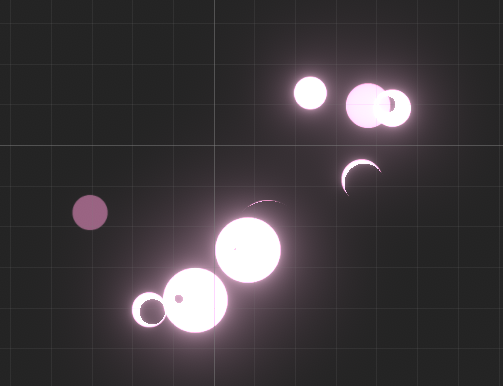
ここではBloomを設定します。Intensity5くらいで設定してみました。
すると、画面にBloom(光が広がる)のエフェクトが掛かるようになりました。


コメント
コメント一覧 (2件)
[…] Builit-Inでのポストプロセスの設定方法はこちらの記事で解説していますので、設定ください。 […]
[…] Builit-Inの場合、DemoSceneにポストプロセスが掛かっていません。上記のGIF画像のような、見た目にするには、Bloomのポストプロセスが必要です。こちらの記事で設定方法を解説していますので、設定を行ってください。 […]